In this blog post I will show you how to install Kali Linux 2017 in Virtual Box
Lets get started
Step 1 – Download Kali Linux ISO image
To install the Kali Linux, we will have to first get the installer ISO image file. You can get it by visiting the official download page. Please download the 64 bit or 32 bit image depending on the system you have. Dont get confused by the many options available such as Kali Linux 64 bit Mate or Kali Linux 64 bit Xfce. They are all the same except for the desktop environment. LXDE, Mate, Xfce are various open source desktop environments. I use the first image Kali Linux 64 bit, but the choice is yours. It does not really matter.
Just remember that Kali Linux 64 bit Light is the minimal distribution which will not contain all the features. You will have to install the tools you want later on. There is also an option to download the VMware image directly. But I prefer to create my own Virtual Machine which has all the tools installed, which this blog is all about. Since the file size is large, around 3 GB, I prefer to download via torrent because it is fast and flexible.
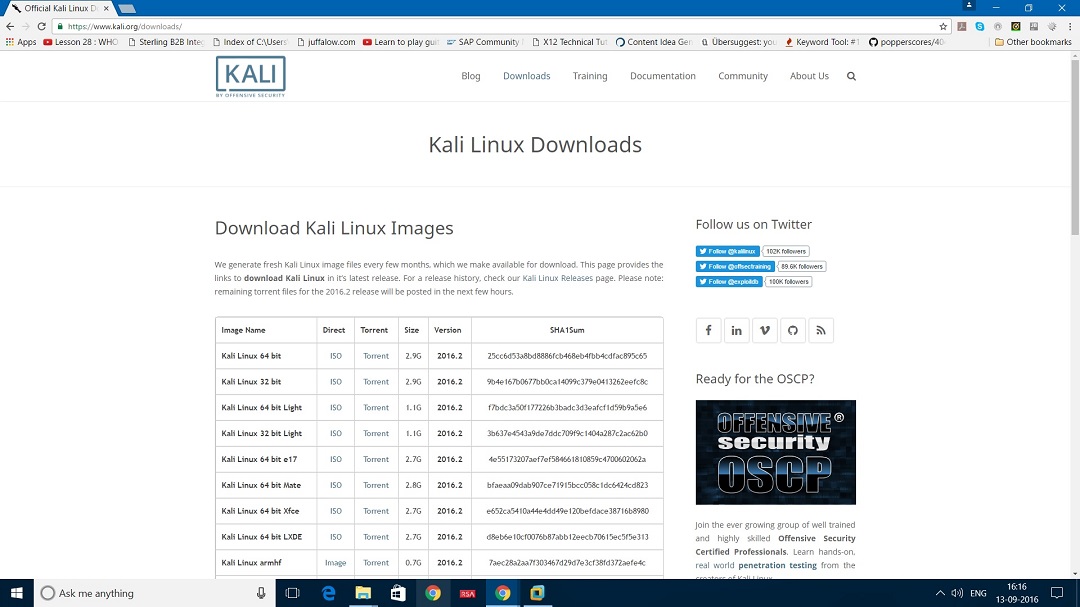
Kali Linux official download webpage screenshot.
Step 2 – Locate the downloaded file
You can find the downloaded image file in the downloads folder, if you have not changed the default settings. The filename would be something like kali-linux-2016.2-amd64.iso. If you have downloaded through torrent, the ISO file will be downloaded in a folder, folder name would be something like kali-linux-2017.1-amd64.
Step 3 – Open VirtualBox
Lets start the installation process. Open VirtualBox. If you don’t have it installed already, please visit my page.
Step 4 – Launch VirtualBox Create Virtual Machine installation wizard.
You can launch this by clicking New gear symbol in blue in the left side of the menu bar. The keyboard shortcut is Ctrl + N on Windows.
In the Create Virtual machine dialog box, enter a Name for the Virtual machine. This can be anything you want. VirtaulBox will also create a folder by this name in your computer to store the virtual machine files, path to which is your users folders which typically is something like “C:\Users\User name\VirtualBox VMs” by default. User name is the name of the user you are logged in as in windows which will vary for all of us.
Click next to continue.
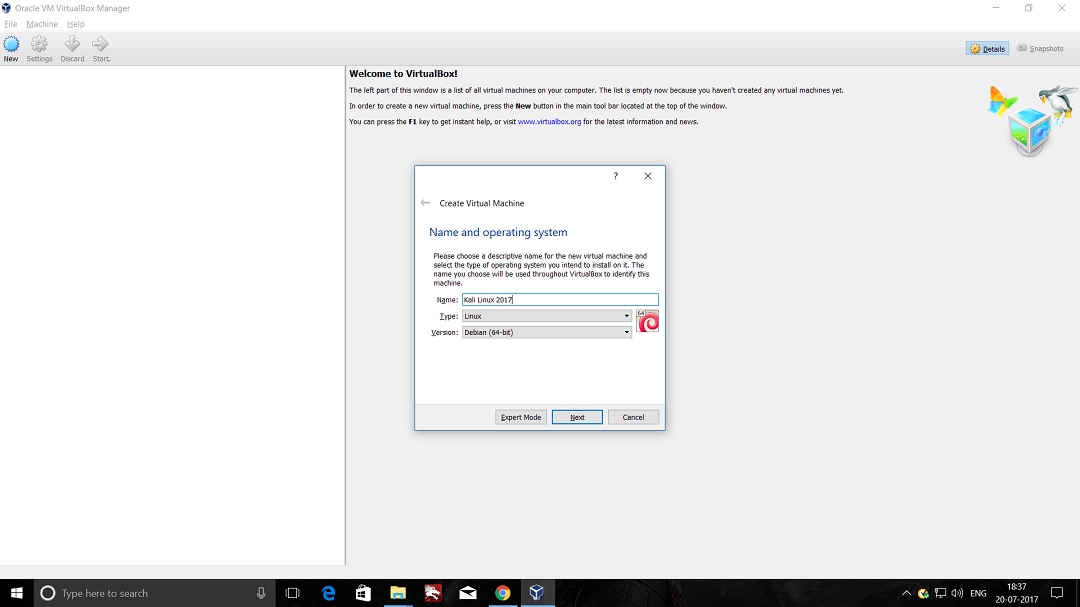
VirtualBox create virtual machine dialog box screenshot
Step 5- Create Virtual Machine Wizard – Specify memory size
In this dialog box you will have to specify the RAM that you want the virtual machine to have. You can enter a value in the multiples of 1024 MB which stands for 1GB of Ram. So for 2 GB it would be 2048 MB. You could also use the slider to specify the RAM. Click on next to continue.
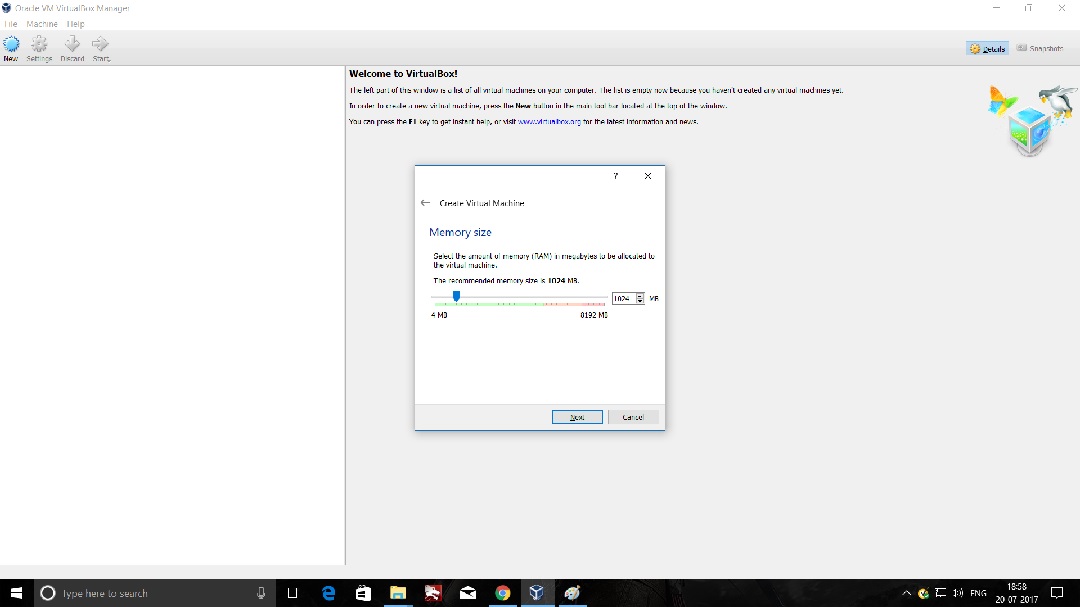
VirtualBox New Virtual Machine setup – specify memory size dialog box screenshot
Step 6- Create Virtual Machine Wizard – Create Hard Disk
In this dialog box you will asked if you wish to create Virtual hard drive. “Create a virtual hard disk now” is the default option. Leave it as it is and click on Create.
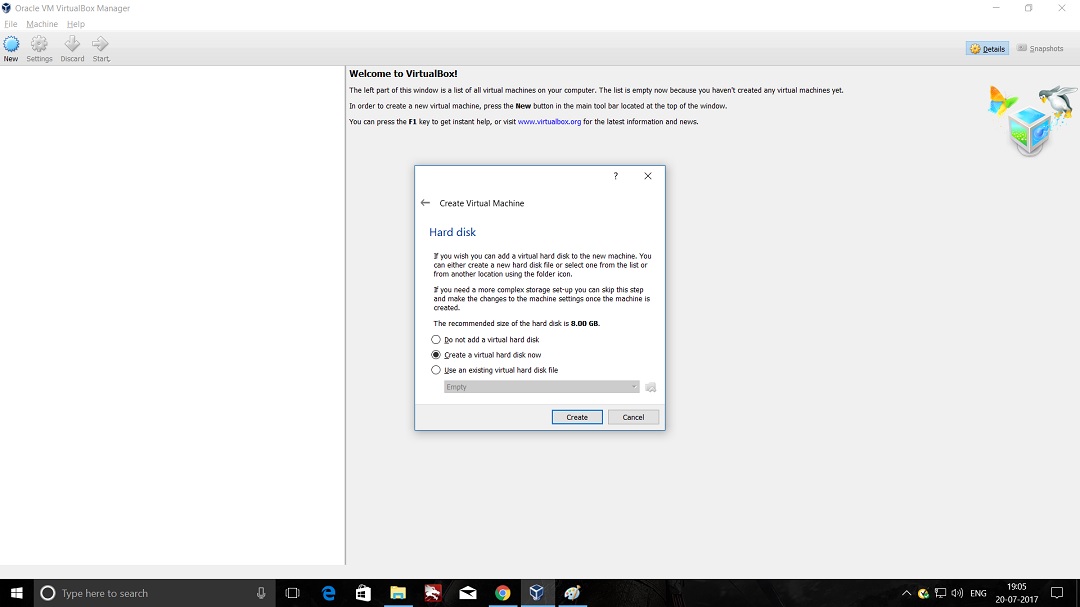
VirtualBox- Create Virtual machine – Create hard Disk Dialog Box
Step 7- Create Virtual Machine Wizard – Hard Disk file type
In this dialog box, you will be asked to select the file type of the virtual hard disk. The hard disk that will be created is actually is file that will contain the virtual machine. Select the default value VDI – Virtual Disk Image and click next.
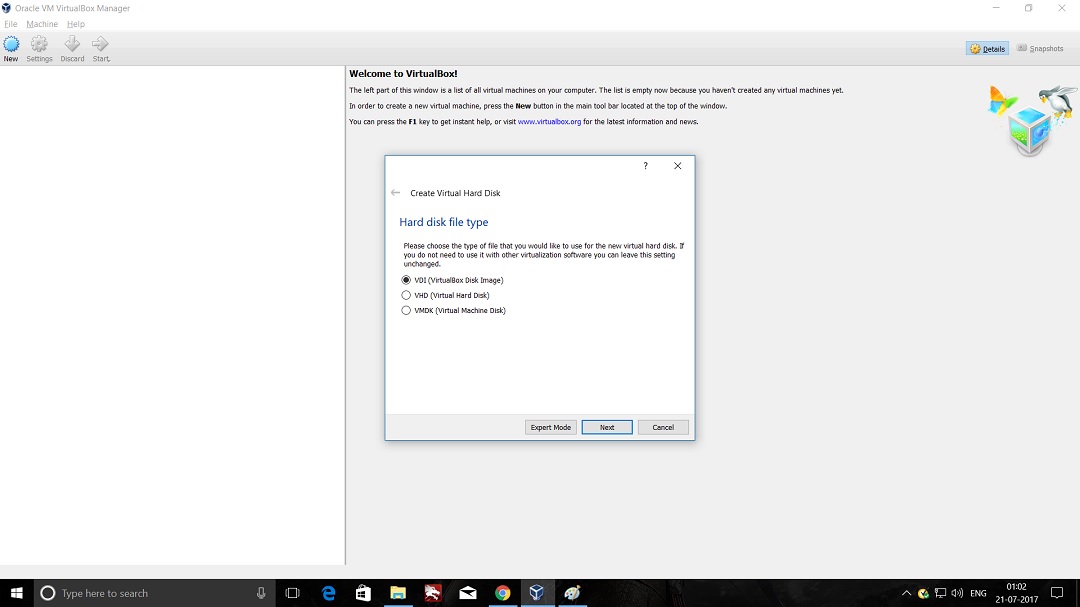
VirtualBox – Create Virtual machine – Hard Disk file type
Step 8- Create Virtual Machine Wizard – Storage on physical hard disk
In this dialog box, you will be asked to how the virtual hard disk be created. Options are Dynamically allocated or Fixed size. Choose the default option which is Dynamically Allocated and click on next.
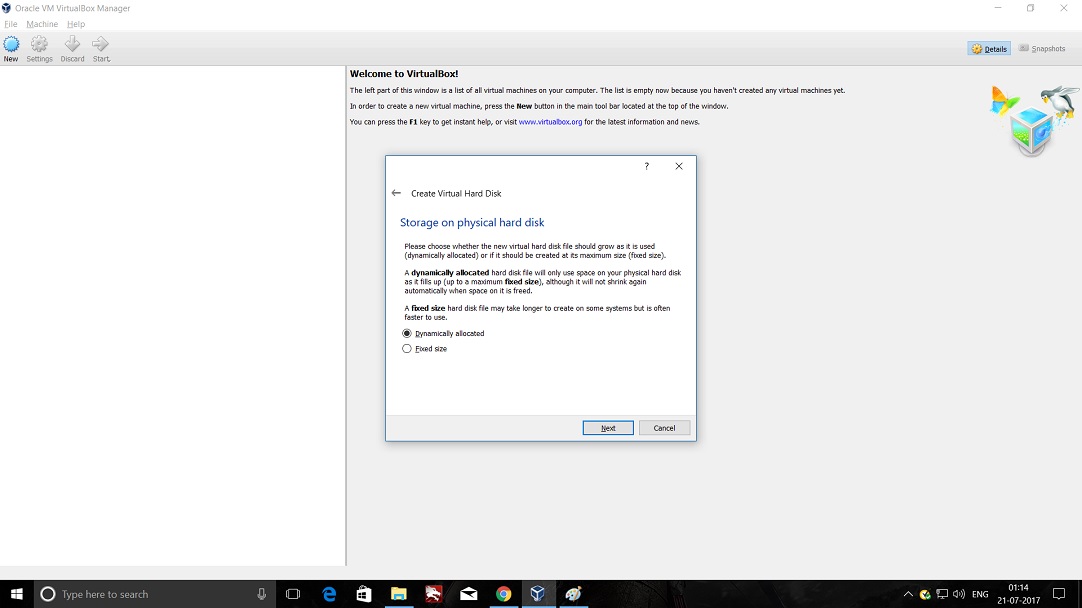
VirtualBox – Create Virtual machine- Storage on Physical hard disk dialog box screenshot
Step 9- Create Virtual Machine Wizard – File location and size
Please specify the name of the folder that will be created and also the folder location. I choose the default location and provide a name such as kali 2017.
This dialog box also asks you to specify the disk capacity. This is the maximum amount of disk space it will utilize once the Virtual Machine is created. Maximum disk size is 2 TB. I was having problems creating Kali Virtual machine if the disk size was less than 30 GB. I created the Virtual machine by choosing 60 GB. Since you have selected dynamically allocate disk space in previous steps, 60 GB will not be blocked in your hard drive. Once you have tour VM ready, total hard disk space consumed would be around 13 GB which can expand dynamically till what ever size you specify here.
use the slider to select 60 GB disk space and click Create.
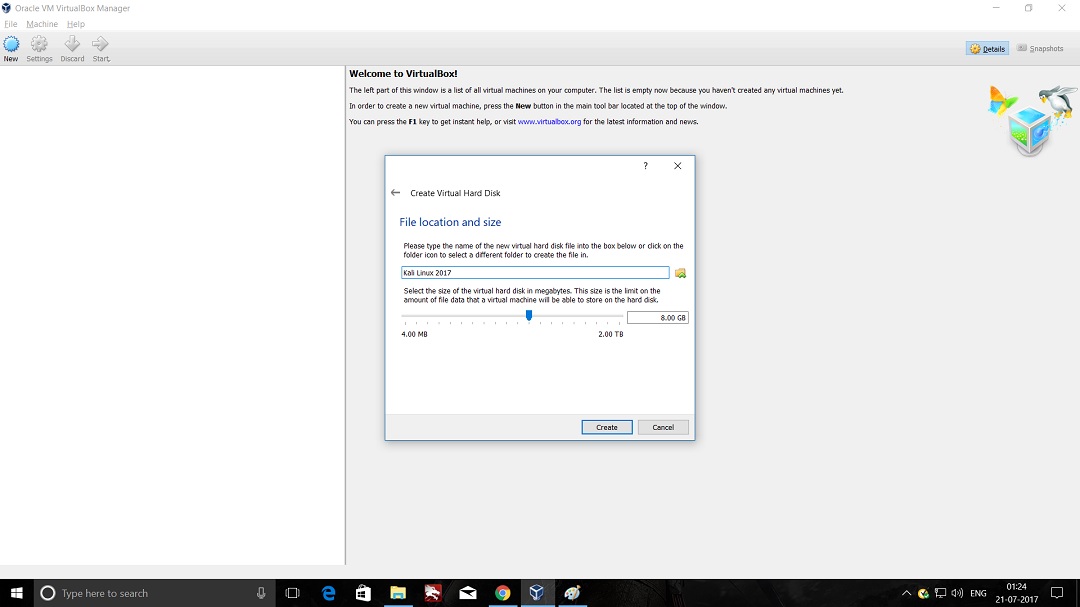
VirtaulBox – Create Virtual machine – file location and size dialog box
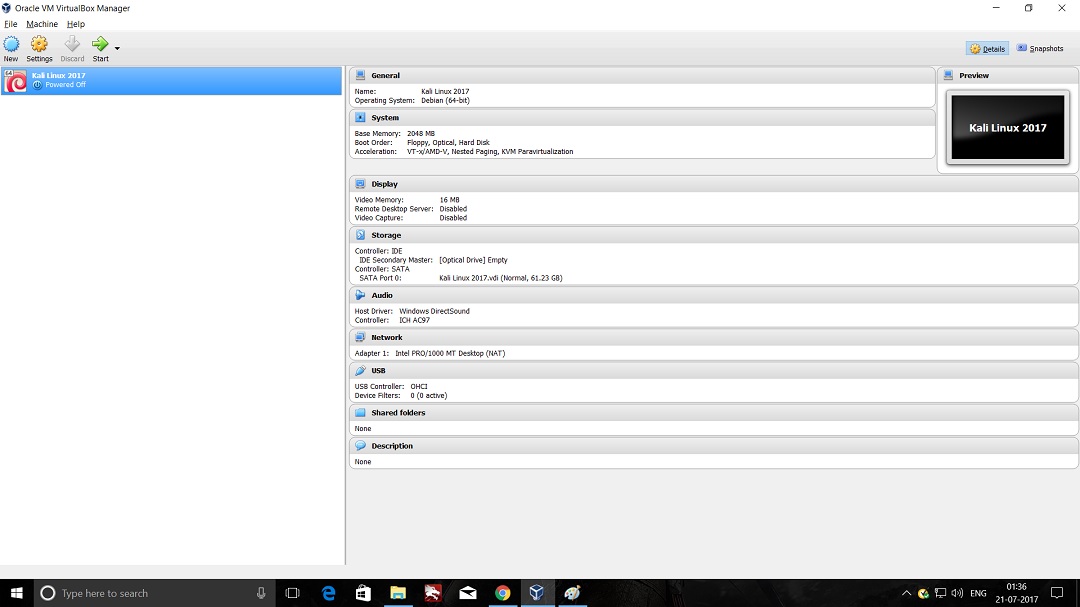
Step 10- VirtualBox Manger – Virtual machine created
You should now see VirtualBox Manger and and a new Virtual machine Kali in poweroff state. We will have to power on the virtual machine to begin the installation process of Kali Linux in the newly created virtual hard drive. But before we power on the virtual machine, there are more settings that needs to be done.
Open the settings dialog box by right clicking on the Virtual machine name or in the menu go to Machine -> Settings. You also see Settings button in the menu bar. For this to work select the virtual machine and click on settings.
VirtualBox manager screenshot
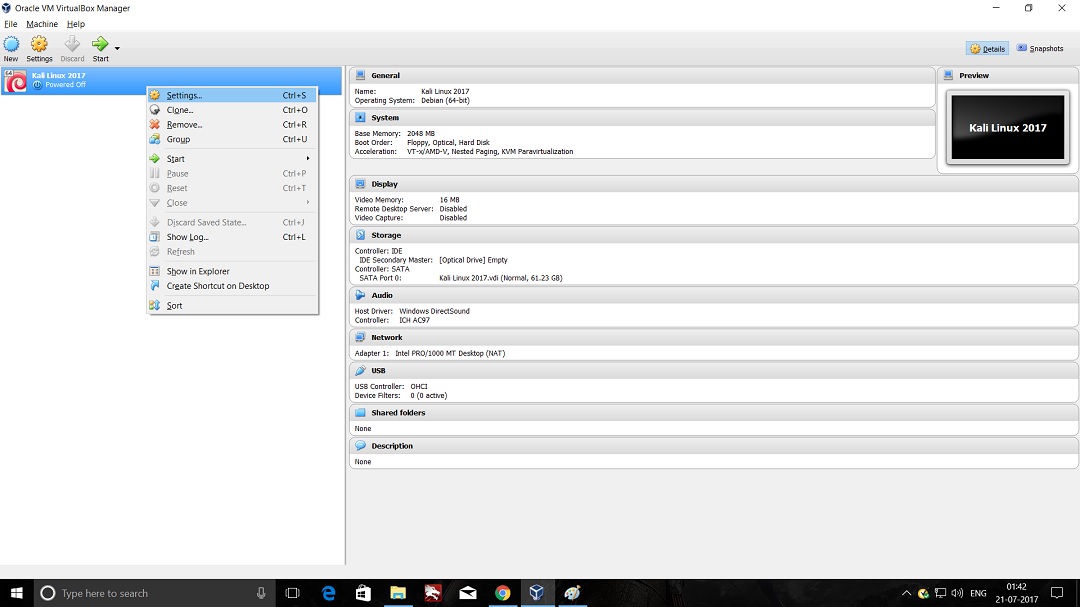
VirtualBox – Settings option – VirtualBox Manager
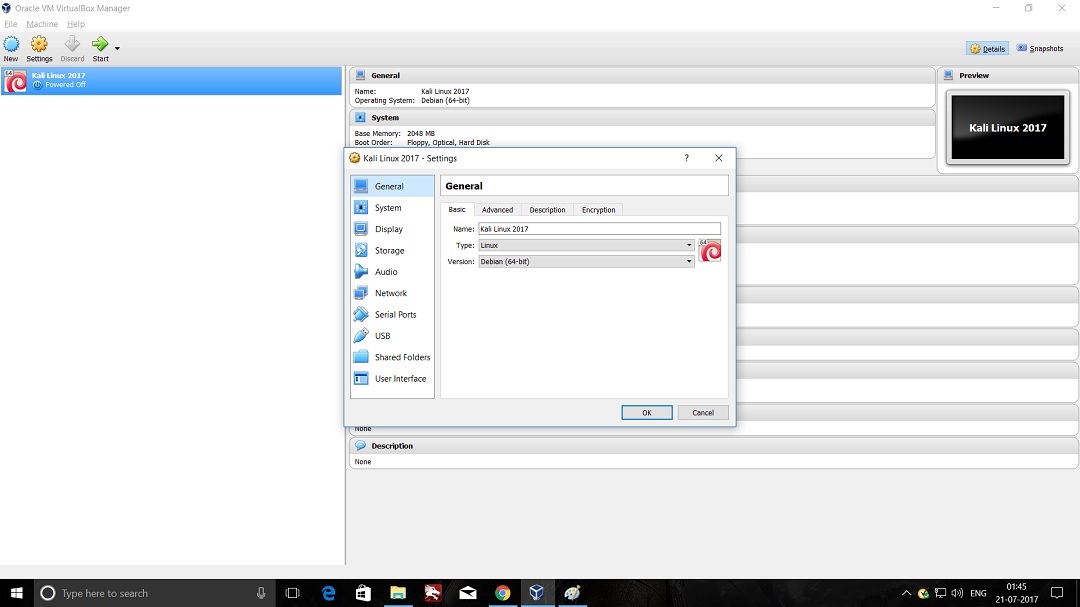
VirtualBox – Virtual machine Settigs dialog box screenshot
Step 11 – Change Virtual machine settings
In the settings dialog box make the following changes:
- Go to General -> Advanced tab – Change Shared clipboard and Drag’n’Drop to bidirectional.
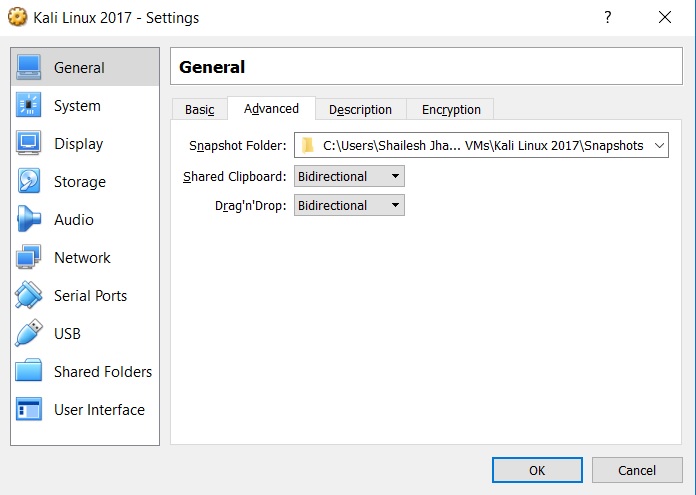
VirtualBox – Settings – General – Advanced tab dialog box screenshot - Go to System -> Motherboard tab – Uncheck floppy.
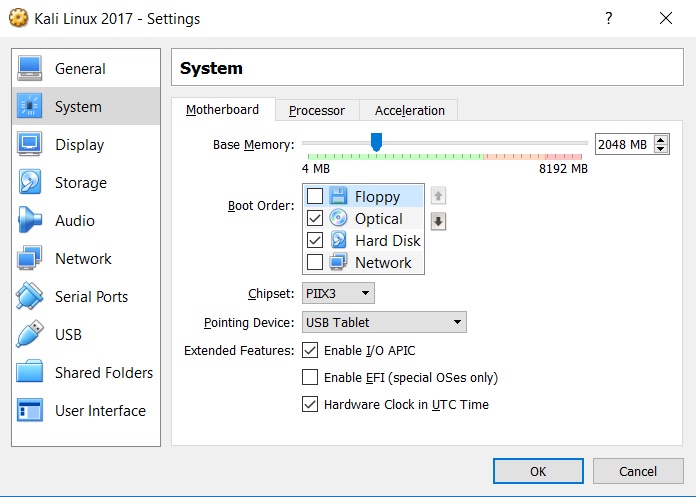
VirtualBox settings system motherboard tab screenshot - Go to System -> Processor tab – Increase number of processors to 2 have better performance. You can leave it as it is if you want. leave rest of the settings as it is.
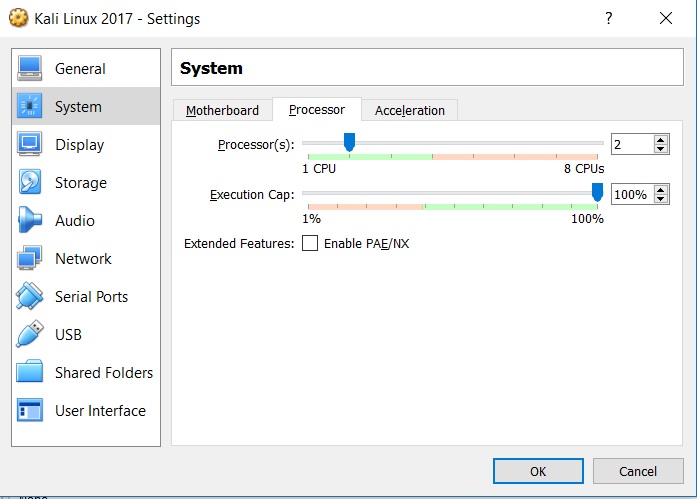
VirtualBox settings system processor tab screenshot - Go to System -> Acceleration tab – Default settings are Enable VT-x/AMD-V checked and Enable nested paging checked.
leave them as it is. If you dont want to use VT-x/AMD-V, you can uncheck it, but there is no harm in using it if your CPU supports Intel VT-x or AMD-V.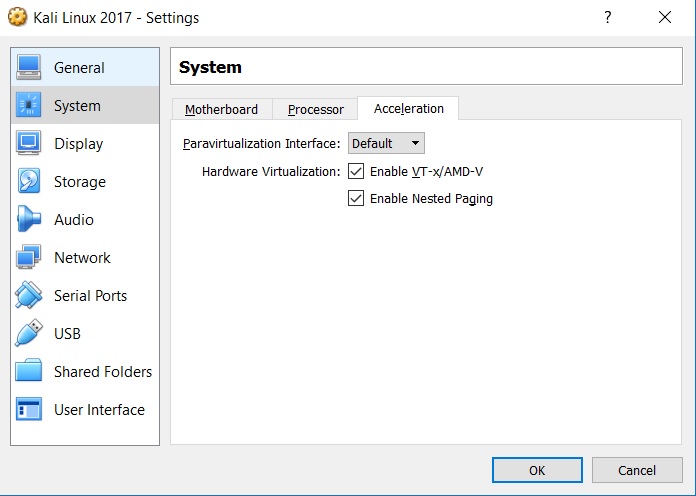
VirtualBox – Settings – System Acceleration dialog box screenshot - Go to Storage-> Optical Drive attribute – Click on the disk Icon and select Choose Virtual optical Disk file and navigate to the ISO image that you have downloaded.
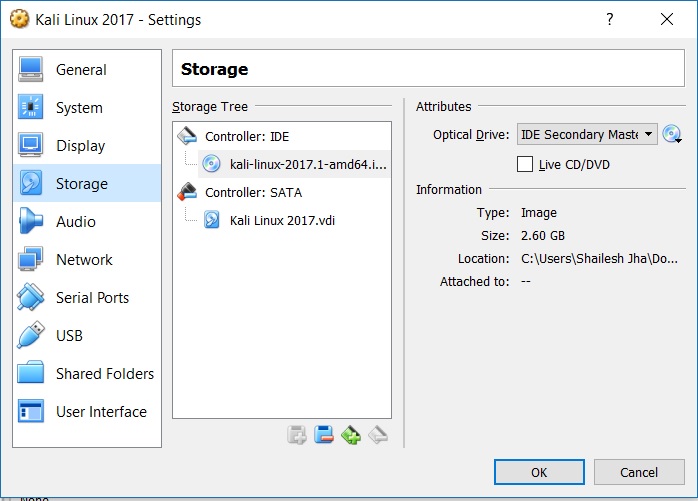
VirtualBox – Settings – Storage tab screenshot - Click OK to exit settings and return to VirtualBox Manager screen.
Step 12 – Click on the Start Icon to start the virtual machine
This will power on the virtual machine and the installation process will start.
Step 13 – Select Graphical Install from Boot Menu
Here you will see many options. Select Graphical Install using the down arrow key and click continue.
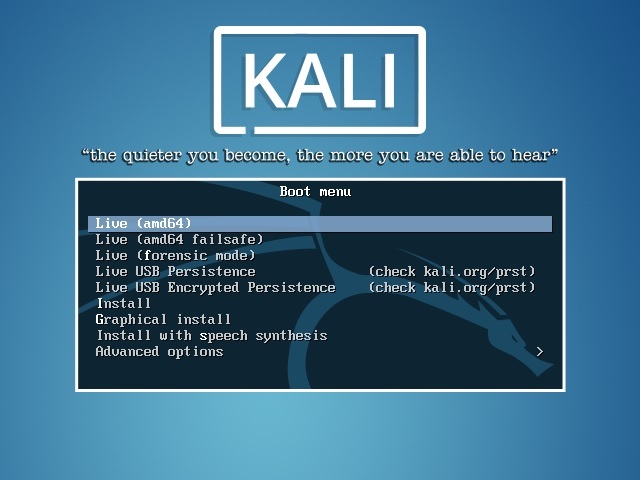
Kali linux installation boot menu screenshot
Step 14 – Select a Language
In this dialog box you will be asked to select a language. Please select a language and continue. This option sets your language in the Kali Linux Operating system. Default is English.
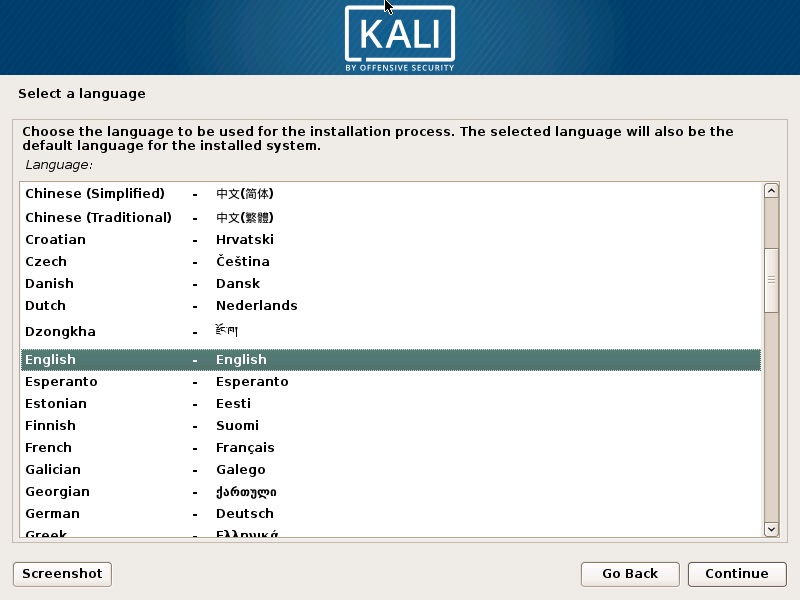
Install Kali Linux 2017 in VirtualBox- Select a Language Screenshot Screenshot
Step 15 – Select Location
In this dialog box you will be asked to select a Location. Please select a location and continue. This option sets your Location in the Kali Linux Operating system. later on, you will be able to set the time zone based on the location you choose here.
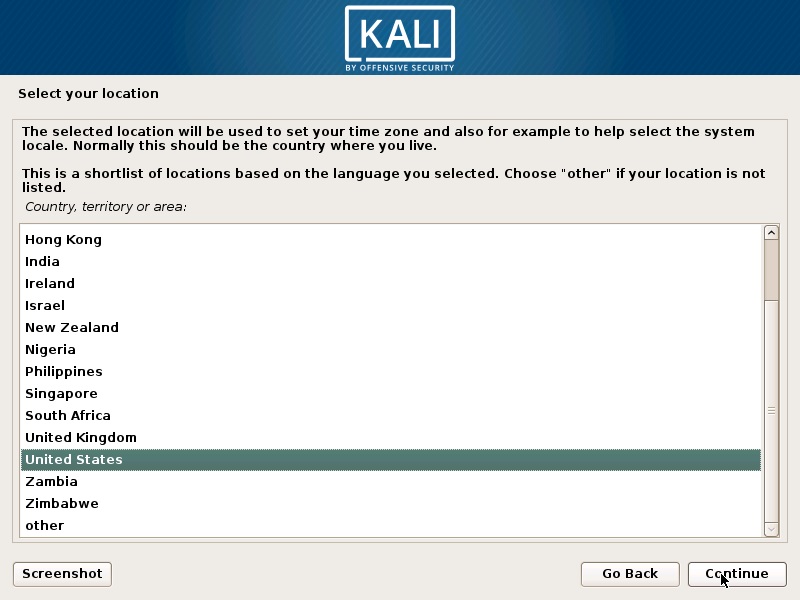
Install Kali Linux 2017 in VirtualBox Workstation 12- Select Location Screenshot
Step 16 – Configure the Keyboard
In this dialog box you will be asked to select the keyboard layout. Please select a Keyboard layout using the arrow keys and click continue. This option sets your Keyboard in the Kali Linux Operating system. By default it is set to American English.
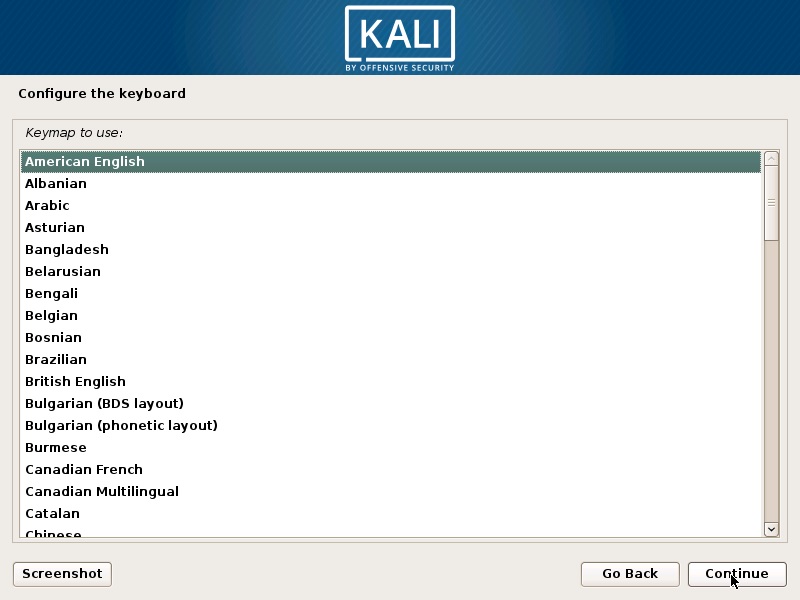
Install Kali Linux 2017 in VirtualBox- Configure keyboard Screenshot
After you click continue, you will see the installation progresses for some them you see the Network Configuration dialog box, which is the next step.
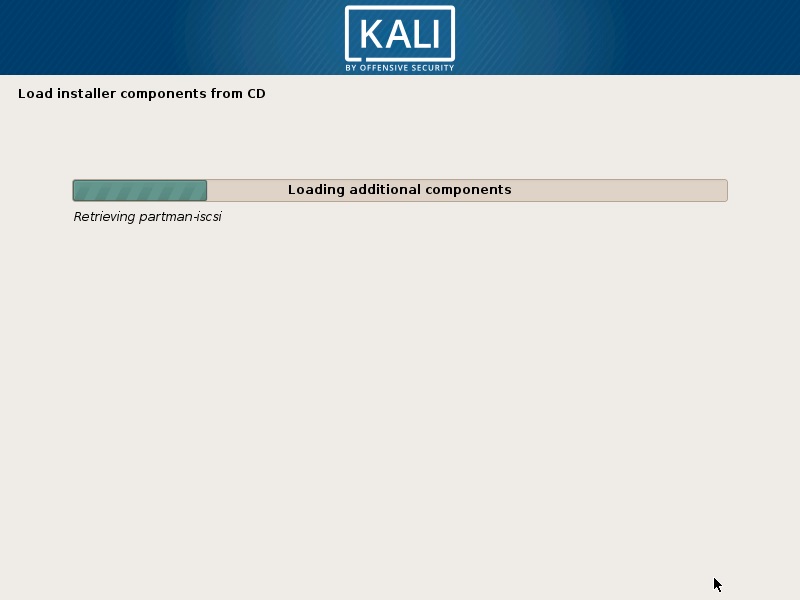
Install Kali Linux 2017 in VirtualBox- Installation progress Screenshot
Step 17 – Configure the Network – Enter Hostname
In this dialog box you will be asked to enter the hostname for your system. This being a home network, we can set anything. Enter any anything and click continue.
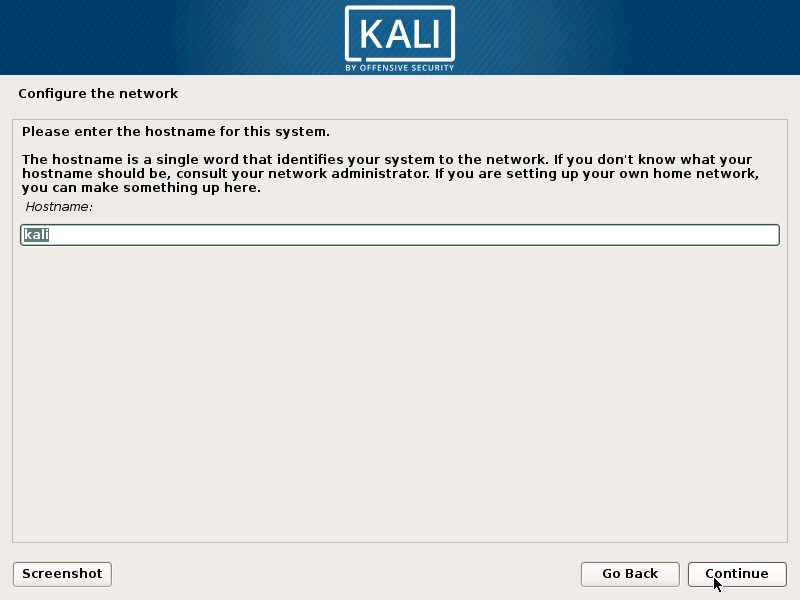
Install Kali Linux 2017 in VirtualBox- Configure the Network Screenshot
Step 18 – Configure the Network – Enter domain name
In this dialog box you will be asked to enter the domain name for your system. This being a home network, we can set anything like example.com
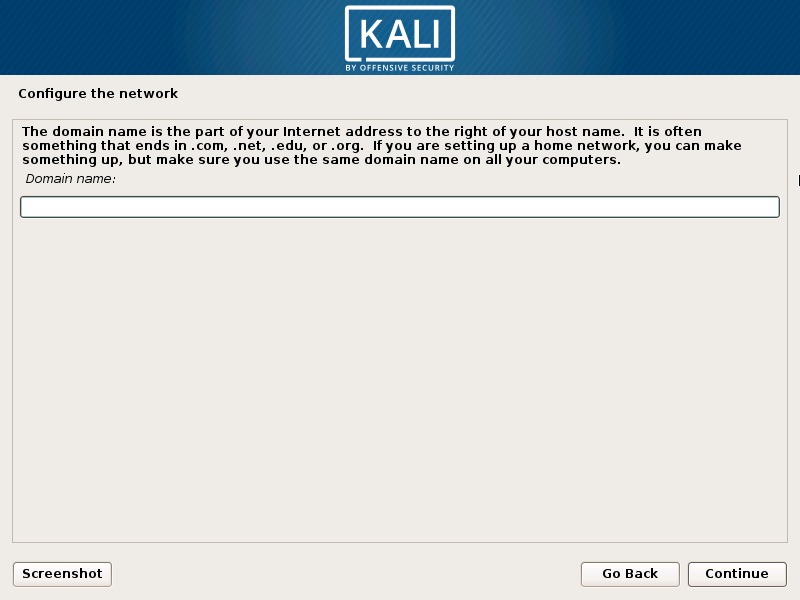
Install Kali Linux 2017 in VirtualBox- Configure the Network- Enter Domain Name Screenshot
Step 19 – Set password for User root
In this dialog box you will be asked to enter the password for the root user account. Please enter a password of your choice and click continue.
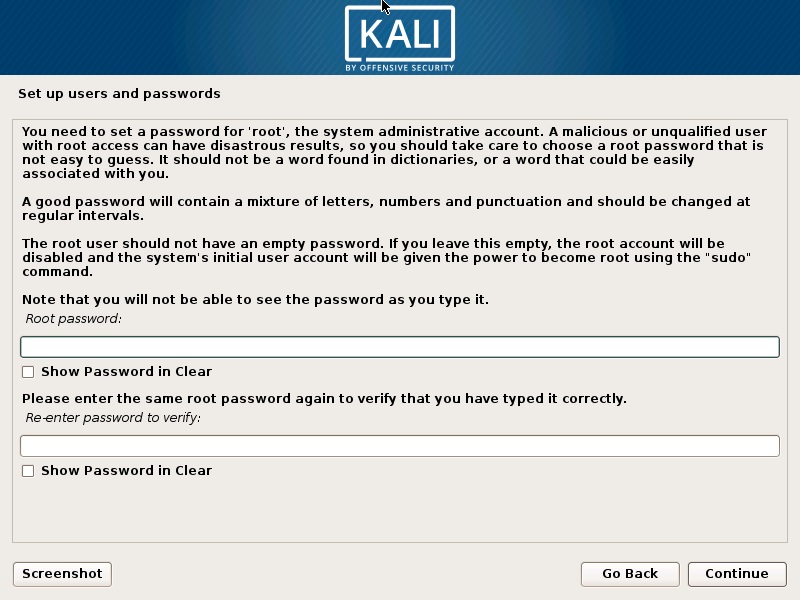
Install Kali Linux 2017 in VirtualBox- Set up Users and Password Screenshot
Step 20 – Enter Username for your account
In this dialog box you will be asked to enter the username for the account. Please enter a username of your choice and click continue.
You will have to enter User name in two different dialog box, similar to shown in the below screenshot
You will have to enter User name in two different dialog box, similar to shown in the below screenshot
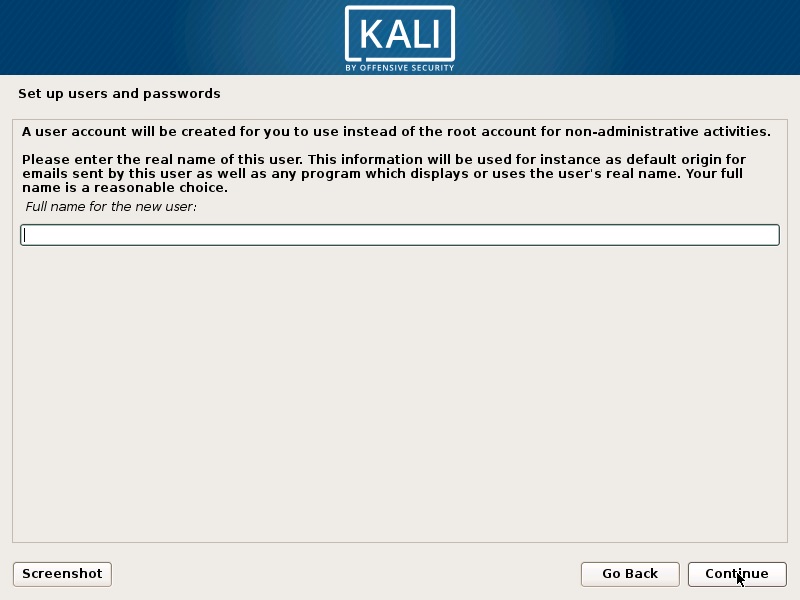
Install Kali Linux 2017 in VirtualBox- Set up Users Name Screenshot
Step 21 – Enter Password for your the user account
In this dialog box you will be asked to enter the password for the user account you created in the last step. Please enter a password of your choice and click continue.
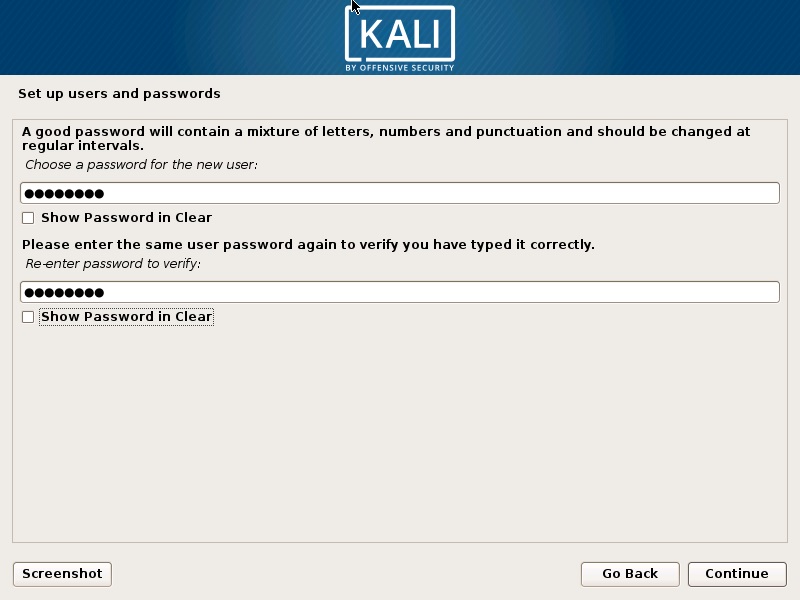
Install Kali Linux 2017 in VirtualBox- Set up Users and Password Screenshot
Step 22 – Configure Clock
In this dialog box you will be asked to time zone based on the location you selected earlier. Please enter a time zone of your choice and click continue.

Install Kali Linux 2017 in VirtualBox- Configure Clock Screenshot
Step 23 – Partition Disk
In this dialog box you are asked how you would like to partition your disk. Select Guided – Use entire disk and click continue. This is the default option.
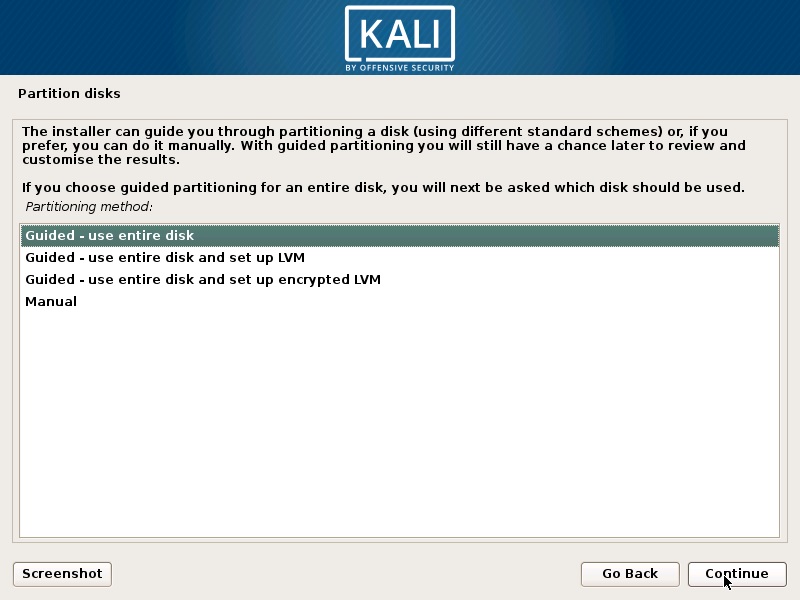
Install Kali Linux 2017 in VirtualBox- Partition Disk Screenshot
In this dialog box you are asked to select a disk to partition. Select sda, VMware Virtual disk. There should be only one option. Click Continue.
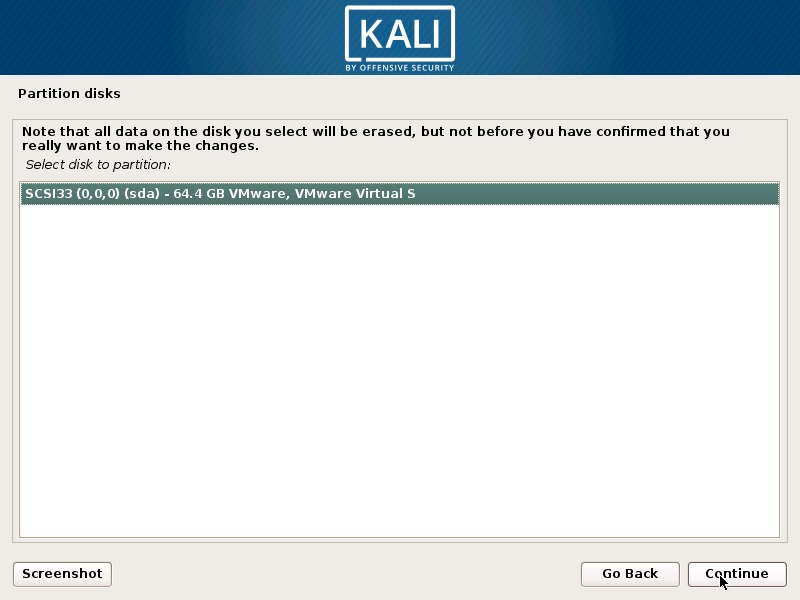
Install Kali Linux 2017 in VirtualBox- Select Disk to Partition Screenshot
Step 24 – Select partition scheme
In this dialog box you are asked to select a scheme for disk partition. Select the default, All files in one partition and click Continue.

Install Kali Linux 2017 in VirtualBox- Disk Partitioning Scheme Screenshot
Step 25 – Disk partition Overview
In this dialog box you are see the summary of your disk partition. Select the Finish Partitioning and Write changes to disk which should be selected by default. All you have to do is to click continue.
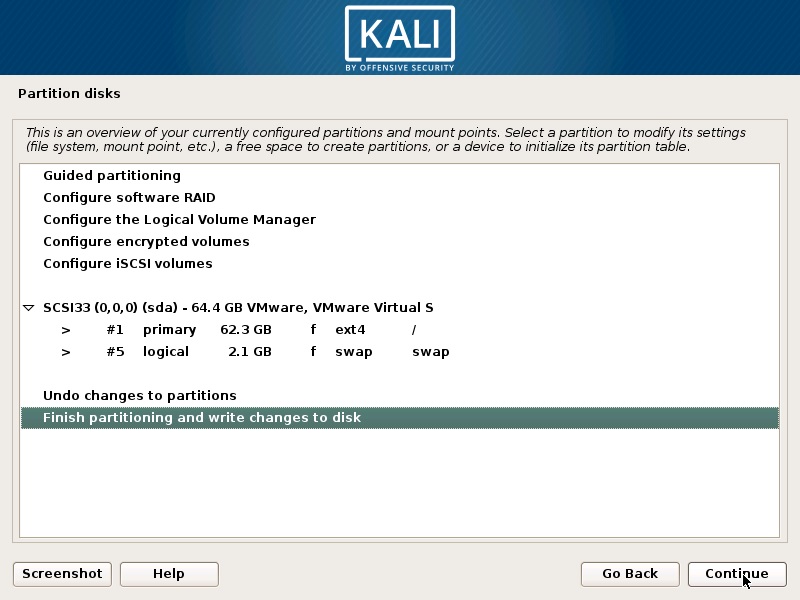
Install Kali Linux 2017 in VirtualBox- Disk Partition Overview Screenshot
Step 26 – Disk partition Confirmation
In this dialog you are asked to confirm Write changes to disk. Select yes and click continue.
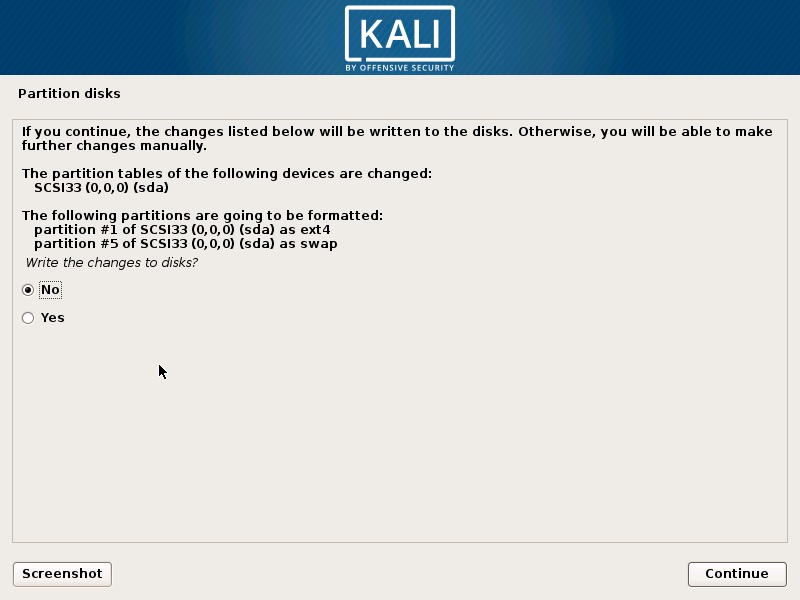
Install Kali Linux 2017 in VirtualBox- Disk Partition Confirmation Screenshot
Step 27 – Installation starts
Now the actual installation starts. Wait for Configure the Package Manager Dialog box to appear.
Step 28 – Configure the package manager
In this dialog box you will ask if you wish to configure network mirror for Package manager. Choose yes and continue. You canskip this by selecting NO. But the default option Yes is better.

Install Kali Linux 2017 in VirtualBox- Configure the Package Manager Screenshot
Step 29 – Configure the package manager – HTTP Proxy
In this dialog box you will ask if you wish to HTTP proxy. Leave it blank and click continue.
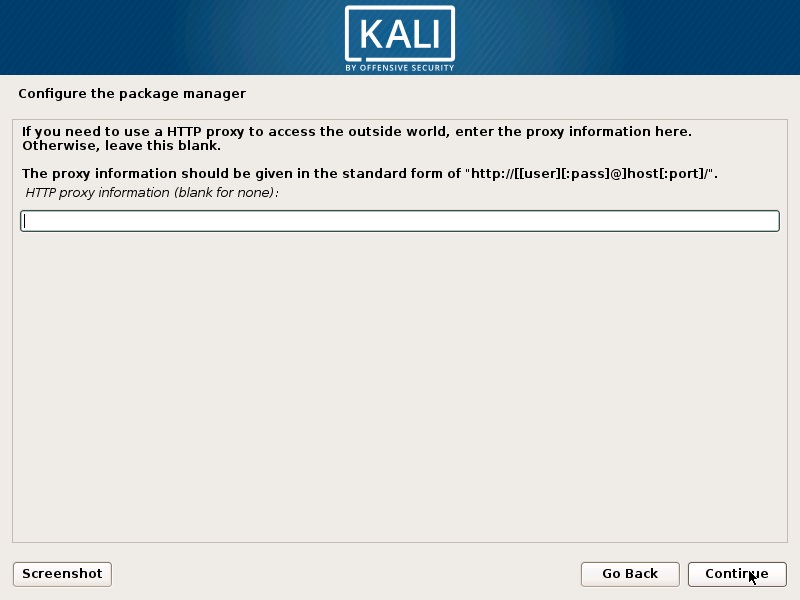
Install Kali Linux 2017 in VirtualBox- Configure the Package Manager – HTTP proxy Screenshot
Step 30 – Install GRUB boot loader
In this dialog box you will be asked if you would like to install the GRUB boot loader. Select Yes and click Continue.
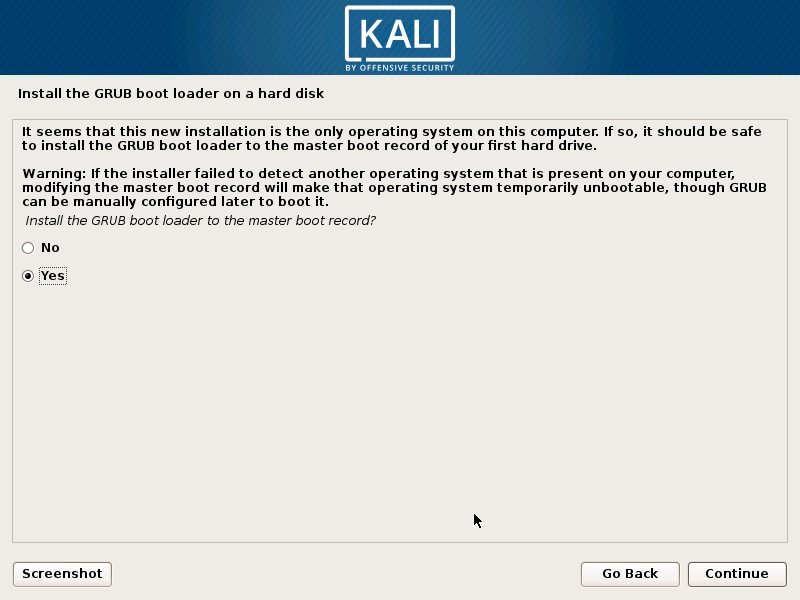
Install Kali Linux 2017 in VirtualBox- Install GRUB Boot Loader Screenshot
Step 31 – Select device for GRUB boot loader Installation
In this dialog box you will be asked to select boot loader device for GRUB installation. Select /dev/sda and click Continue.

Install Kali Linux 2017 in VirtualBox- Select GRUB Boot Loader Device Screenshot
Step 32 – Installation Complete
Installation will continue and now you will see Installation complete dialog box. Click continue to finalize the installation and wait for the VM to reboot. After reboot you will see the login screen. Login with your username or root user and provide your password. You will then see the Kali Linux desktop.
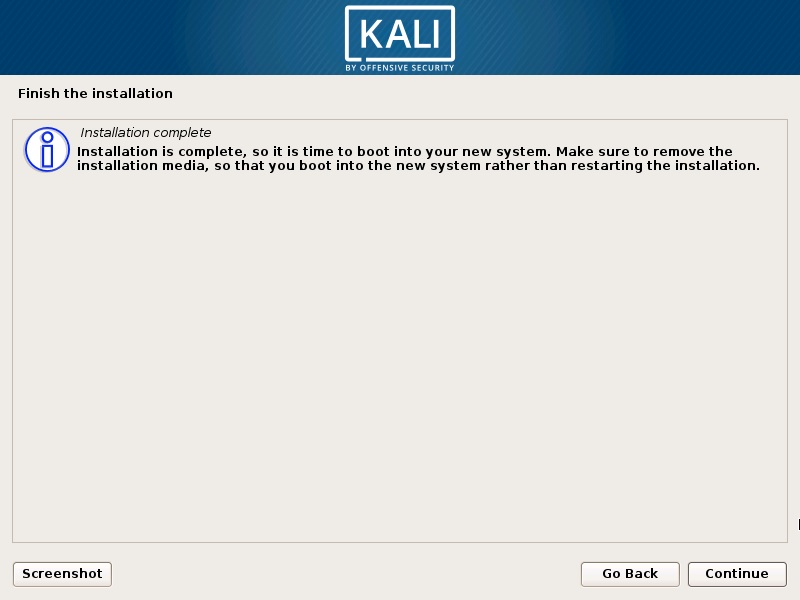
Install Kali Linux 2017 in VirtualBox- Installation Complete Screenshot

Kali Linux login screen dialog box screenshot
Step 33 – Switching to Full screen mode
After login, if you want to switch to full screen mode, you wont be able to. What you will see is the resolution of 800×600 which is the default resolution. This is because, VirtualBox Linux Editions is not installed. If you follow the instructions from the official VirtualBox page, the process does not work for Kali 2017. Please follow the below steps to install VirtualBox Linux successfully so that you have
full integration with your host OS and also be able to switch to full screen mode with full resolution.
full integration with your host OS and also be able to switch to full screen mode with full resolution.
Kali Linux desktop VirtualBox no full screen – Resolution 800×600
Step 34 – To Install VirtualBox Linux tools please follow the below steps:
You should have internet connection for this to work
- Open terminal in Kali Linux
- Type the following command in the terminal and press enter.
apt-get install linux-headers-amd64
The process will take sometime to complete. Press Y for yes if asked for confirmation and wait for the process to complete.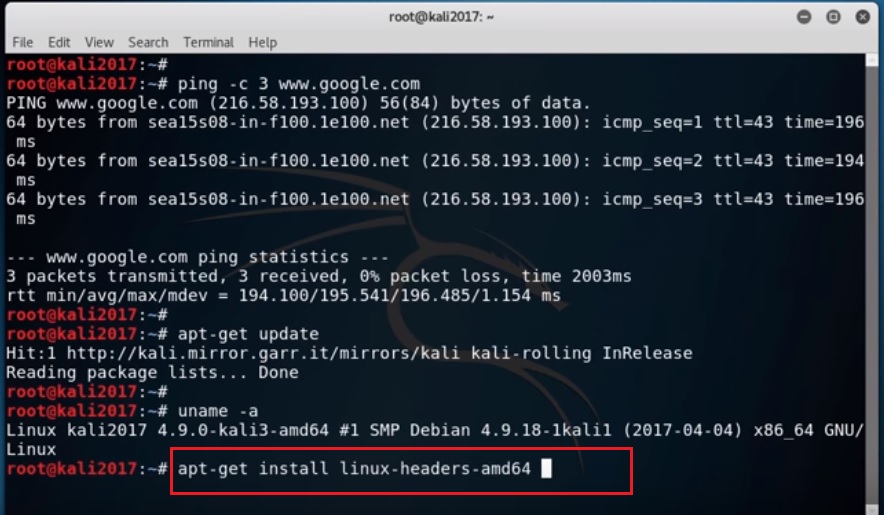
VirtualBox Kali Linux termina – Install linux headers command screenshot - After the above process completes, Type the following command in the terminal and press enter.
apt-get install linux-image-4.9.0-kali64-amd64
The process will take sometime to complete. Press Y for yes if asked for confirmation and wait for the process to complete.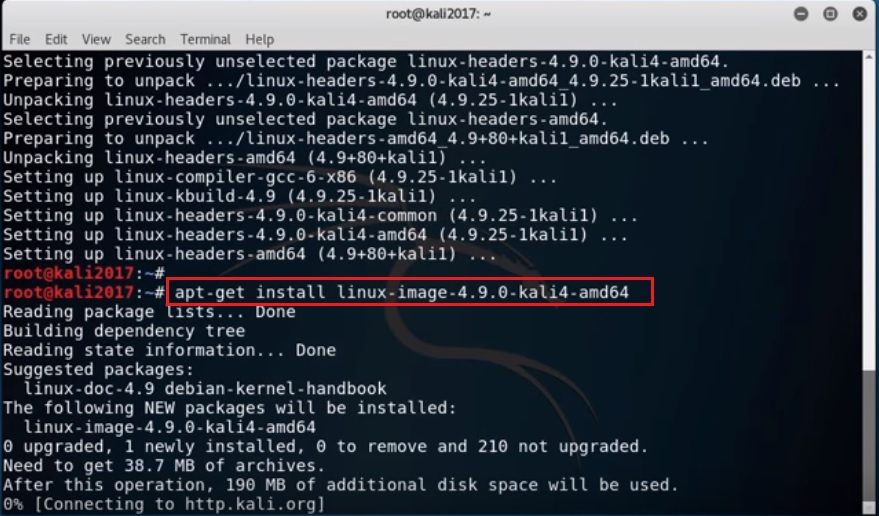
VirtualBox Kali Linux termina – Install linux image command screenshot - After the above process completes, reboot the system by typing reboot in the terminal and press enter.
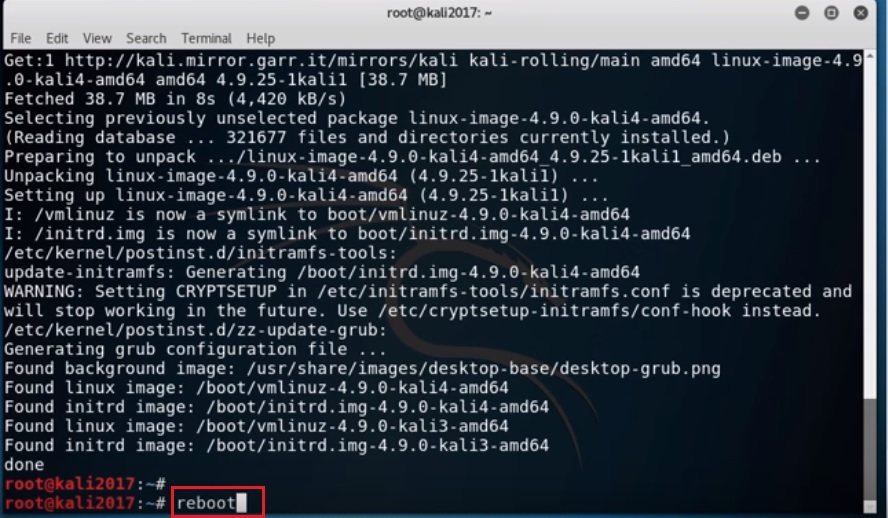
Kali Linux terminal – Reboot command screenshot - After the system reboots, open terminal again and type the following command.
apt-get install virtualbox-guest-x11 -y
This will take some time. Wait for the process to complete.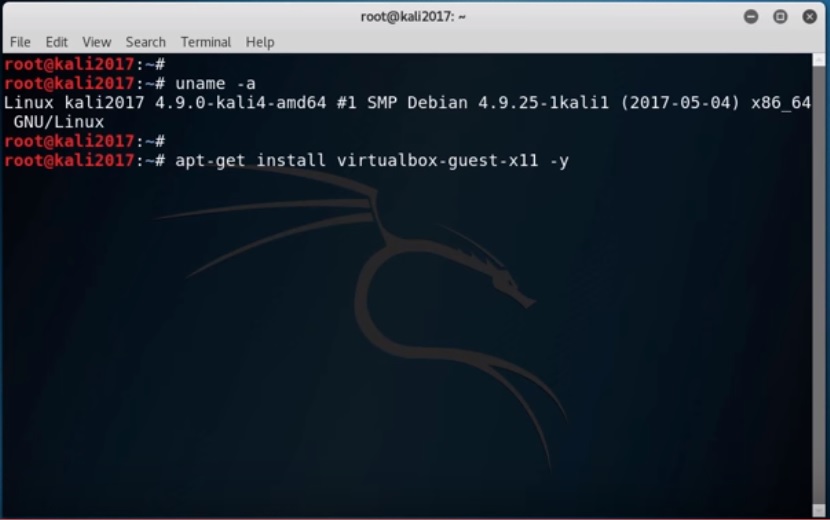
Kali Linux terminal – Install Virtualbox Guest command screenshot - After the above process completes, reboot the system by typing reboot in the terminal and press enter.
Kali Linux terminal – Reboot command screenshot - After the system reboots, to check if the every thing has installed correctly, please click on View in the menu bar and you should see Adjust Window size and Auto resize guest not grayed out and active.
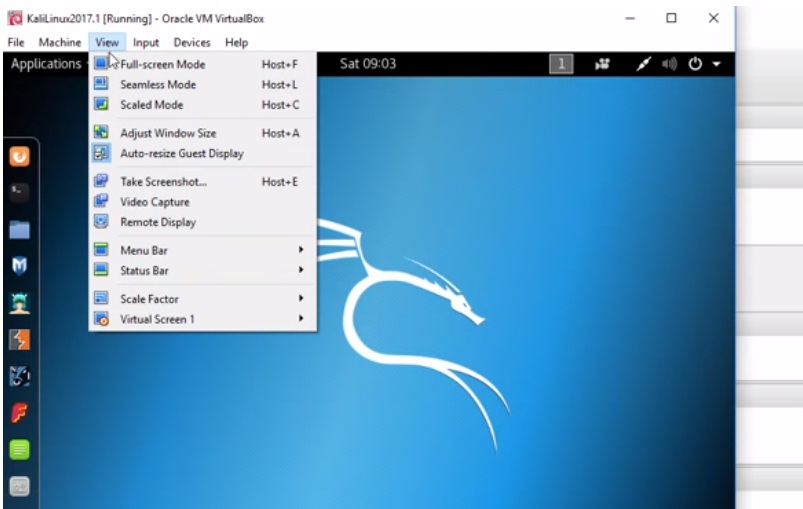
VirtualBox – Kali Linux Auto resize guest display
Process Complete
You are done, You can start working on Kali Linux 2017. Thanks for Visiting my blog.
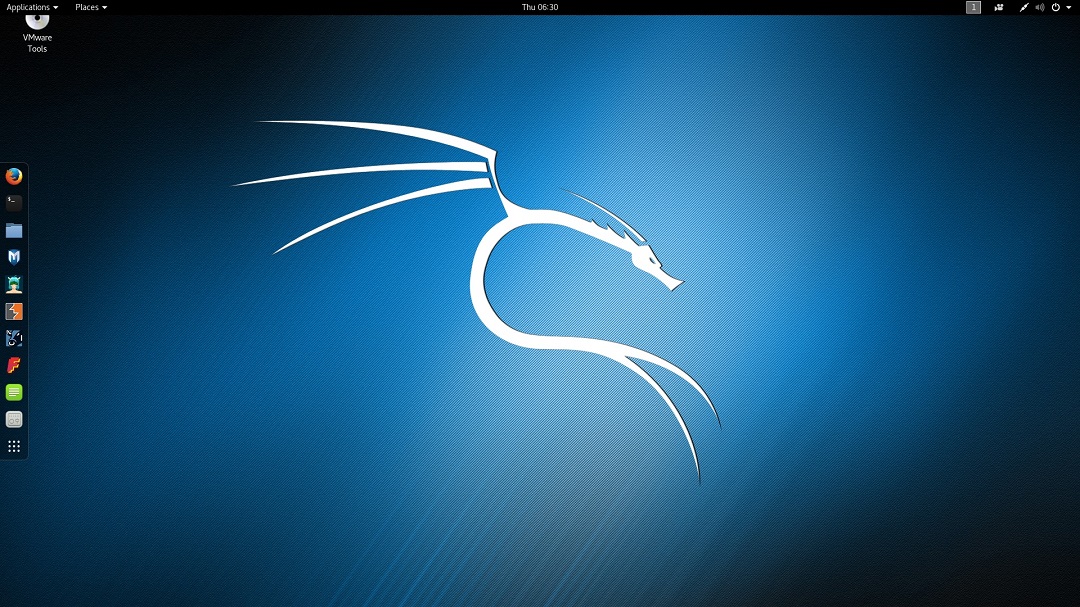
Kali Linux desktop screenshot
Previous Post: How to install Oracle VirtualBox in Windows 10
Next Post: Step by Step – Install VMware Workstation Player 12 in Windows 10
In Category: Virtualization


